This post deals with setting up a 3-Cluster CoreOS installation using Vagrant and VirtualBox on Windows and CentOS. It is intended as a short practical introduction to using CoreOS. Later posts will show how to set up and connect different containers in CoreOS.
Why use CoreOS?
The new architecture of ePages will almost certainly be based on CoreOS as an operating system. CoreOS in combination with Docker, etcd, systemd or fleet fits perfectly into the microservices approach. It is designed to facilitate large multiple-machine deployments and is easy to scale and manage. CoreOS uses Linux containers to manage services instead of package managers. One of the main advantages is that the code and all dependencies of a single service, is packaged within a container and can be run on different CoreOS machines (see also Using CoreOs and CoreOS with Docker).
Now let’s just start with the practical stuff:
Windows
Prerequisites
1. Power Shell 3.0
First, install the Windows Management Framework 3.0 including the Windows PowerShell 3.0. The standard shell will have some troubles with paths. Download the latest version here.
2. Install cygwin
To get the rsync feature, install cygwin on your Windows installation. Download it here.
- Make sure to activate “rsync” and “SSH” in the installation.
- Add “C:\cygwin64\bin” to your Windows system variable “PATH”.
3. Install VirtualBox
Download the latest version of VirtualBox here.
4. Install Vagrant
Download the latest version of Vagrant here.
Getting started
1. Clone the CoreOs-Vagrant git repo
Make sure to use Git in Bash for this.
$ git clone https://github.com/coreos/coreos-vagrant.git
$ cd coreos-vagrant
2. Start a cluster
We need to generate a unique token where etcd can find information on the nodes of the etcd cluster.
- Get the discovery token from https://discovery.etcd.io/new
- Edit the file
user-data. Replacehttps://discovery.etcd.io/NEW_TOKENwith the URL received above.
etcd2:
  discovery: https://discovery.etcd.io/NEW_TOKEN
After replacing the link it should looks like this:
etcd2:
  discovery: https://discovery.etcd.io/0850c01e29cb6d7dcd5d4e9123311704
3. Start clusters
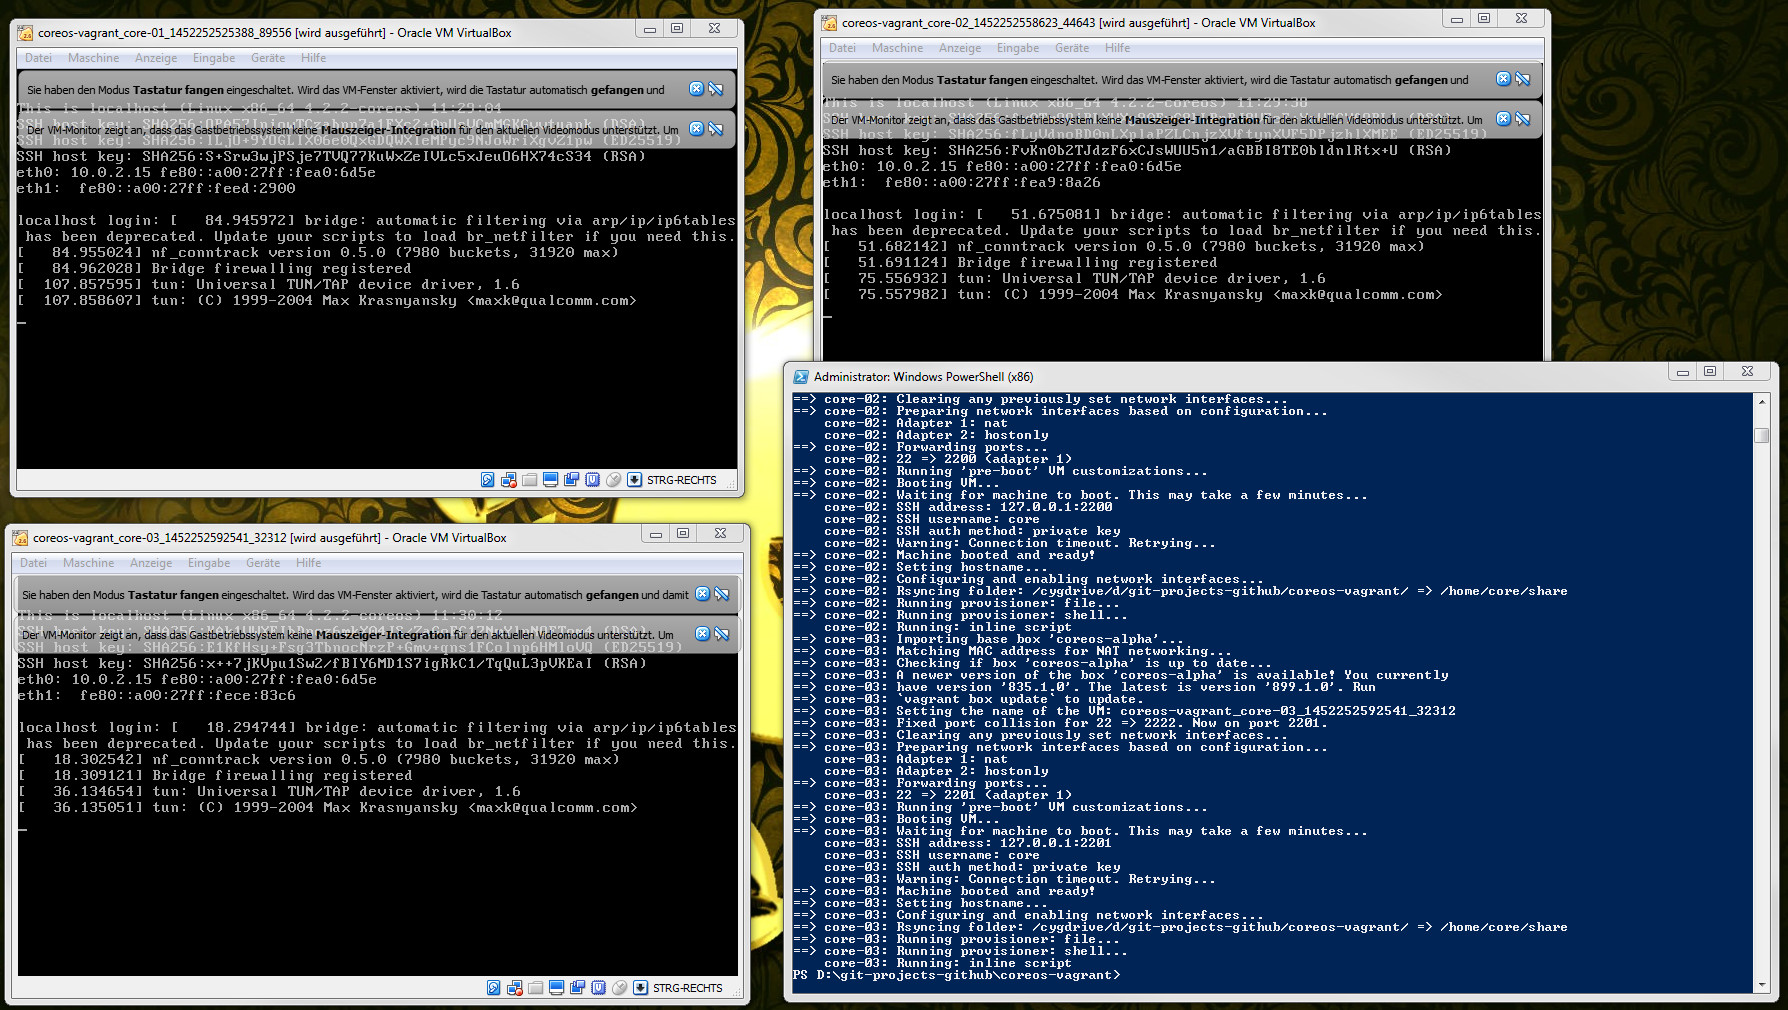
Now change to your PowerShell 3.0 and execute the following commands:
$ cd .\git-projects-github\coreos-vagrant
$ vagrant up
If everything works fine three VirtualBox windows appear and your shell should look like this:
4. Stop clusters
To stop the clusters execute the following commands in your PowerShell 3.0:
$ cd .\git-projects-github\coreos-vagrant
$ vagrant halt
5. Increase cluster count
To increase the count of clusters, change the file config.rb.
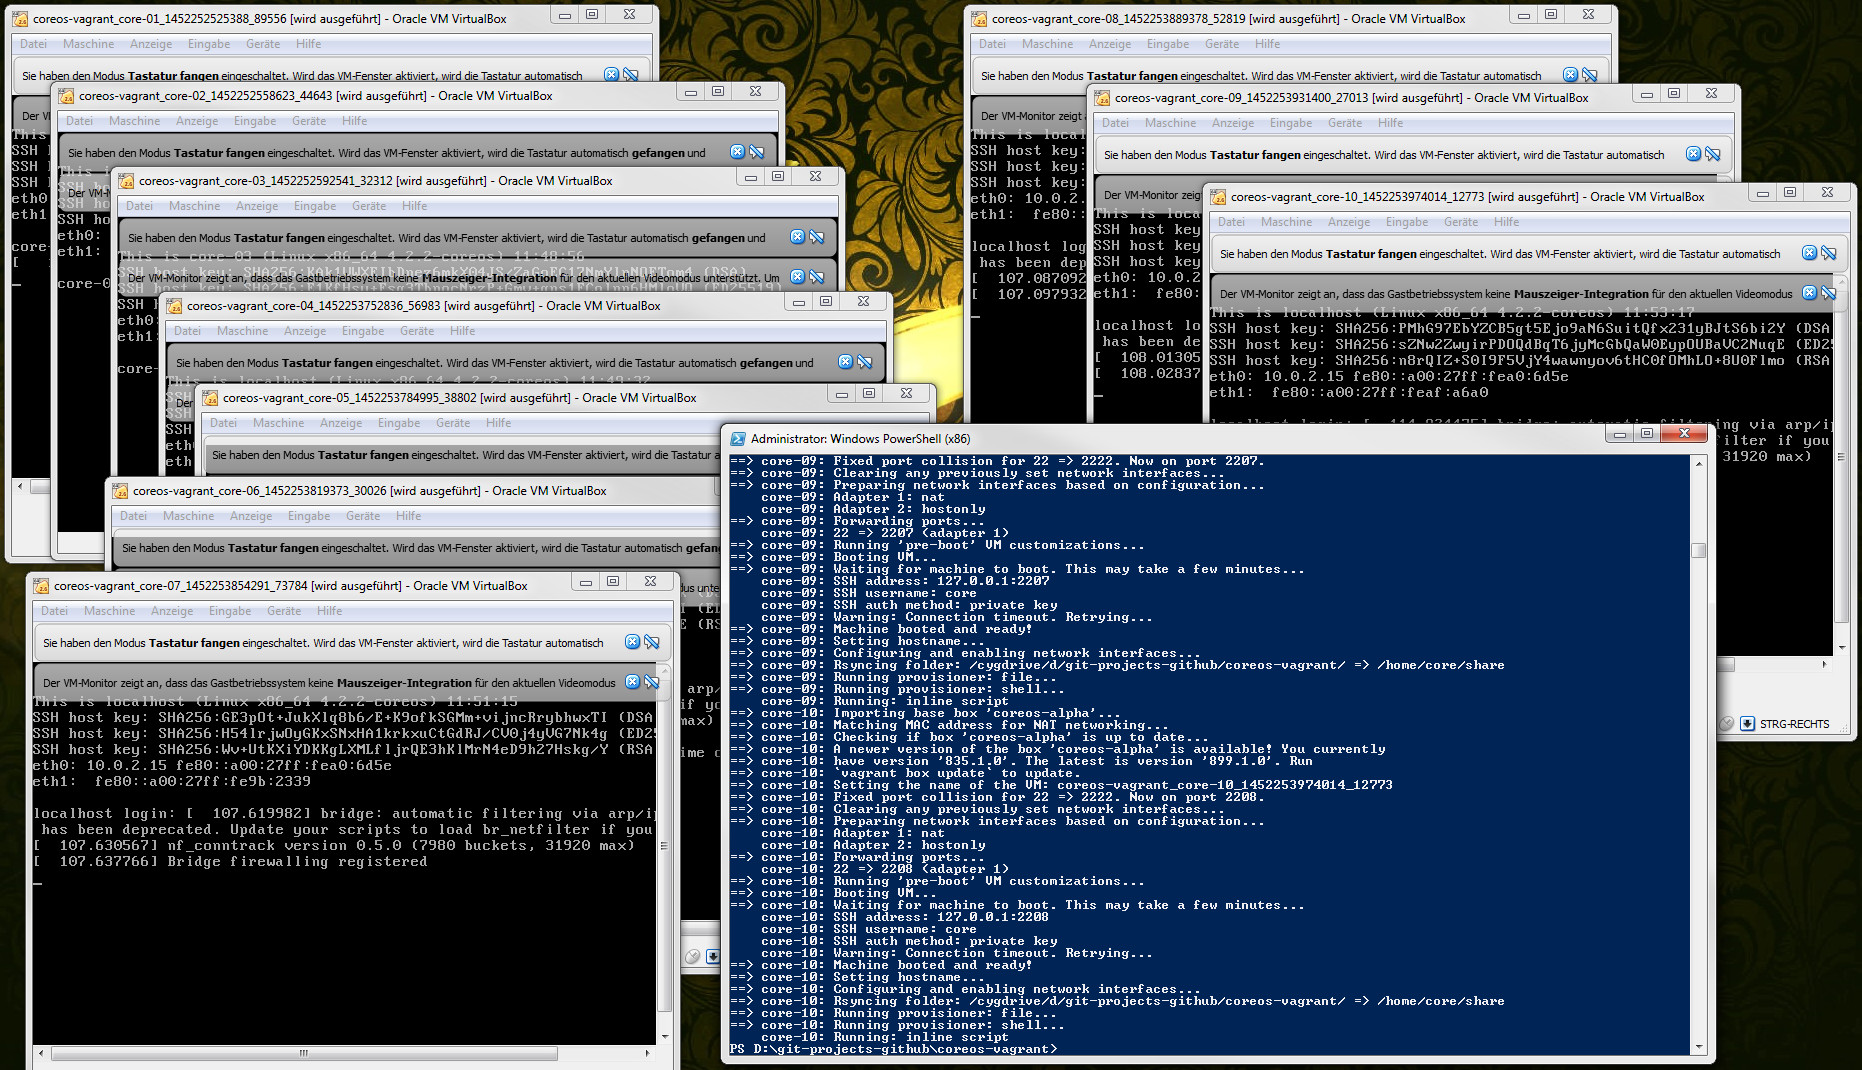
Let’s try to set up CoreOs with 10 clusters just for fun.
Change this:
# Size of the CoreOs cluster created by Vagrant
$num_instances=3
to this:
# Size of the CoreOs cluster created by Vagrant
$num_instances=10
Now switch to your PowerShell 3.0 and execute the following commands:
$ cd .\git-projects-github\coreos-vagrant
$ vagrant up
If everything works properly, you should see something like this:
6. Remove clusters
To completely remove the clusters, execute the following commands in PowerShell 3.0:
$ cd .\git-projects-github\coreos-vagrant
$ vagrant destroy
CentOS
Prerequisites
1. Install git
$ yum install git2. Install openssl-devel and openssl-devel
$ yum install openssl-devel openssl3. Install nano
$ yum install nano4. Install Vagrant
$ cd
$ mkdir downloads
$ cd downloads
$ cd wget https://dl.bintray.com/mitchellh/vagrant/vagrant_1.7.4_x86_64.rpm
$ rpm -Uvh vagrant_1.7.4_x86_64.rpm
5. Install VirtualBox
$ vim /etc/yum.repos.d/virtualbox.repoInsert the following text:
[virtualbox]
name=Oracle Linux / RHEL / CentOS-$relesever / $basearch - VirtualBox
baseurl=http://download.virtualbox.org/virtualbox/rpm/el/$releasever/$basearch
enabled=1
gpgcheck=1
gpgkey=http://download.virtualbox.org/virtualbox/debian/oracle_vbox.asc
Save and exit vim.
Execute this:
$ rpm -Uvh http://ftp.joist.ac.jp/pub/Linux/Fedora/epel/7/x86_64/e/epel-release-7-5.noarch.rpm
$ yum install gcc make patch dkms qt libgomp
$ yum install kernel-headers kernel-devel fontforge binutils glibc-headers glibc-devel
$ export KERN_DIR=/usr/src/kernels/2.6.32-504.3.3.el6.x86_64
$ yum install VirtualBox-5.0
$ service vboxdrv setup
Getting started
1. Clone the CoreOs-Vagrant git repo
Use Git in Bash for this.
$ cd ./git-projects-github/
$ git clone https://github.com/coreos/coreos-vagrant.git
$ cd coreos-vagrant
2. Start a cluster
We need to generate a unique token where etcd can find information on the nodes of the etcd cluster.
- Get the discovery token from https://discovery.etcd.io/new
- Edit the file
user-data. Replacehttps://discovery.etcd.io/NEW_TOKENwith the URL received above.
$ cd ./git-projects-github/coreos-vagrant
$ nano user-data
etcd2:
discovery: https://discovery.etcd.io/NEW_TOKENAfter replacing the link it should looks like this:
etcd2:
  discovery: https://discovery.etcd.io/0850c01e29cb6d7dcd5d4e9123311704
3. Start clusters
$ cd .\git-projects-github\coreos-vagrant
$ vagrant up
4. Stop clusters
To stop the clusters, execute the following commands in PowerShell 3.0:
$ cd .\git-projects-github\coreos-vagrant
$ vagrant halt
5. Increase cluster count
To increase the count of clusters, change the file config.rb.
Let’s try to set up CoreOs with 10 clusters just for fun.
$ cd .\git-projects-github\coreos-vagrant
$ nano config.rb
Change this:
# Size of the CoreOs cluster created by Vagrant
$num_instances=3
to this:
# Size of the CoreOs cluster created by Vagrant
$num_instances=10
Execute the following commands to start the clusters:
$ cd .\git-projects-github\coreos-vagrant
$ vagrant up
6. Remove clusters
To completely remove the clusters, execute following commands:
$ cd .\git-projects-github\coreos-vagrant
$ vagrant destroy
Troubleshooting
Install nfs (if required)
$ yum install nfs-utils nfs-utils-lib