Once you have your test shop in place, you can create an app.
Oh, by the way, this is the API URL for your test shop: https://devshop.epages.com/rs/shops/{shopId}.
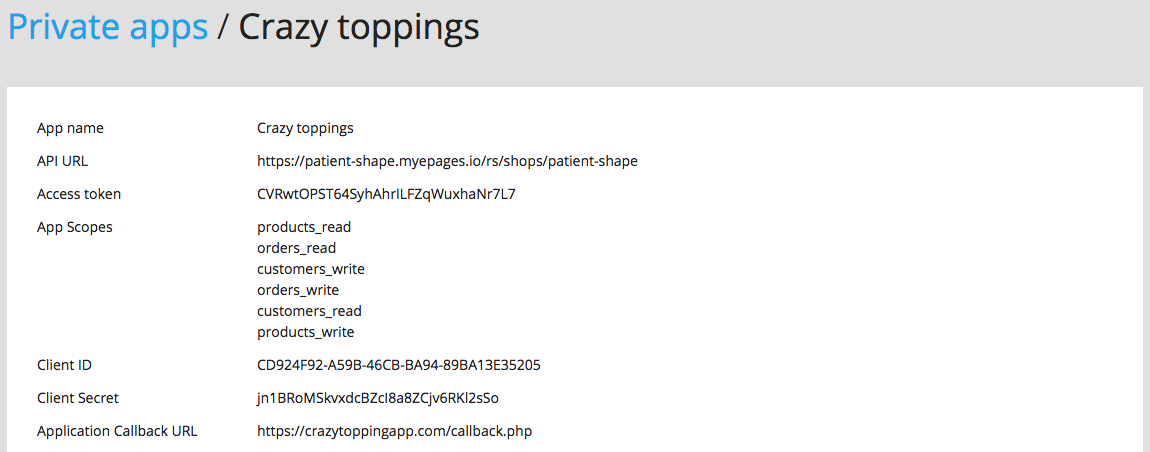
You automatically receive a Client ID and a Client Secret when you create an app in your test shop. After successful authorisation of your app, you will be assigned an Access token.
| Value | Description |
|---|---|
| Client ID | The unique identifier for your app. |
| Client Secret | Used in combination with the Client ID for getting an Access token during the authorisation process. |
| Access token | The token granted from your test shop to the newly created app. You can use this token for accessing the API. Read here for further details. |
Get your credentials
-
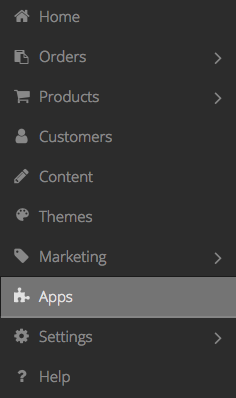
In the sidebar of your test shop’s administration area, click Apps.
-
Click the tab Private apps.

-
In the Private apps view, click Add.

-
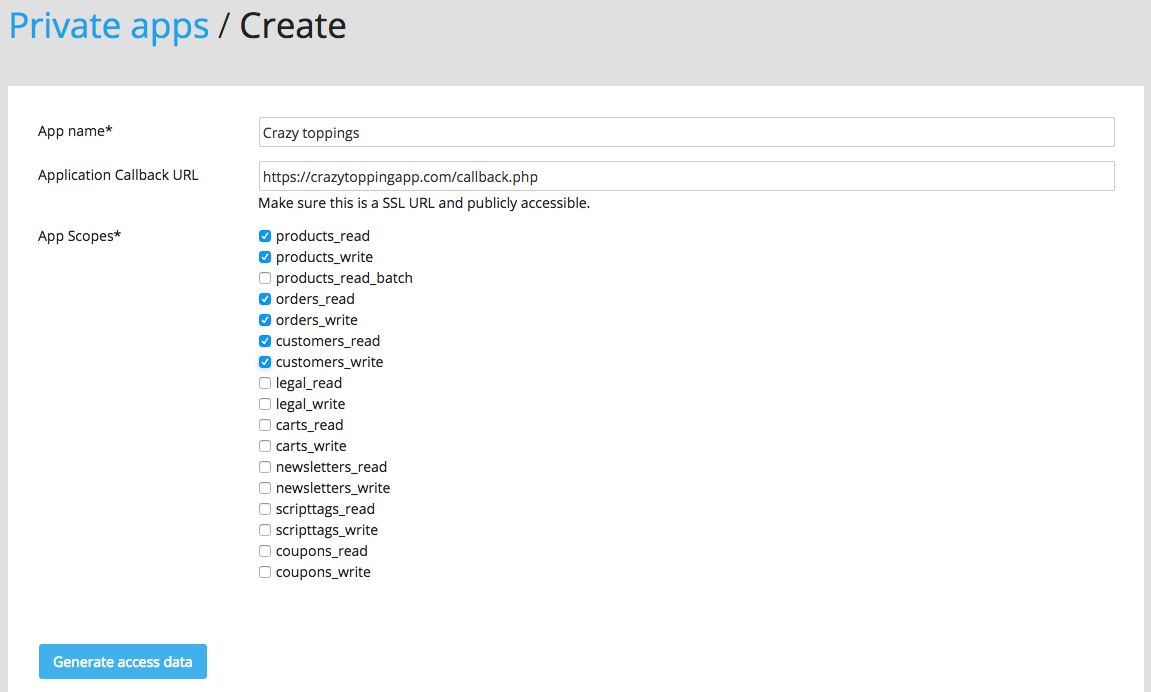
Fill out the input field App name and specify the Application Callback URL. Make sure the URL is https and publicly accessible. Choose the required App Scopes. Read here for further information on the scopes. Note: HTTP Application Callback URLs can be used for private apps, but you need to provide an HTTPS URL if you want to submit the app. Once this is done, click Generate access data.
-
You will be assigned your App Scopes, a Client ID, a Client Secret as well as an Access token. The Access token is granted by your test shop, so that you can start accessing the ePages API immediately.
Warning Store your Client Secret and Access token securely!
Happy coding!
Once this is done, you can start coding away. But when developing your app, please consider our API call limit.
Test the authorisation process
Once you have implemented the authorisation flow in your app, you can trigger it by clicking the button Test authorisation.
Make sure that the Applicaton Callback URL for your app is correct.
Your app will be checked for proper implementation of the OAuth 2.0 flow.

Note Triggering the test authorisation flow removes the existing Access token first.
Successful authorisation
If your authorisation has been successful, you will be assigned a new Access token.
Unsuccessful authorisation
If the authorisation process failed, you will end up without having an Access token. To create a new token without having passed a successful authorisation flow, simply create a new developer app.