Your app cannot access ePages data without getting authorisation from the merchant first. In this section we will help you through this authorisation process.
PRO TIP: This process describes a perfect scenario. Make sure you gracefully handle failures, call limits, communication errors etc.
Credentials
You retrieved a Client ID and a Client Secret that are known to both ePages and your application. Visit the get your credentials page for further information on this subject. Your app uses these credentials for identification during the authorisation process.
Terminology
Before jumping into the authorisation process, let’s look at some terms that will be used in this section.
| Name | Description |
|---|---|
| Merchant | A shop owner giving permission to an App to access his shop’s data through the REST API. Within the OAuth 2.0 protocol this is referred to as resource owner. |
| ePages | This is where the App can view and modify a shop’s data by accessing the REST API. Within the OAuth 2.0 protocol this is referred to as service provider. |
| App | An application that would like to access a shop’s data. The Merchant must grant permission before the App can access any data. Within the OAuth 2.0 protocol this is referred to as client. |
Authorisation process
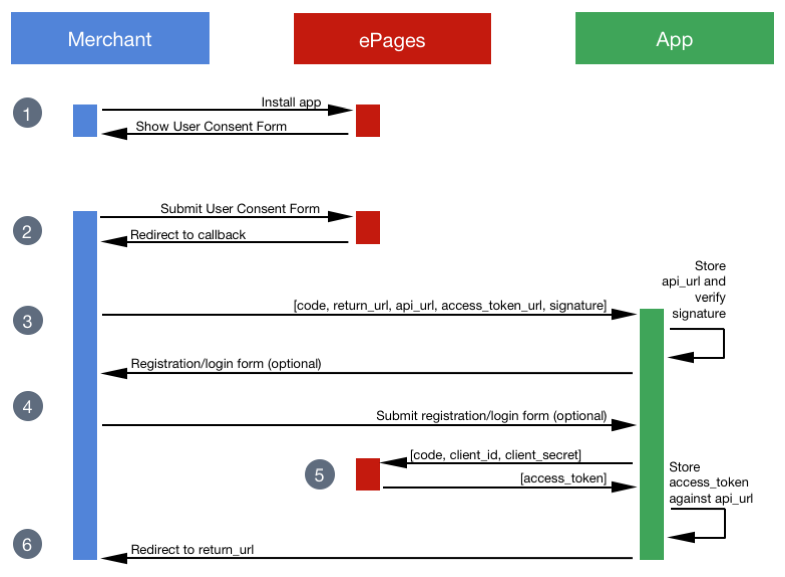
1. Ask for permission
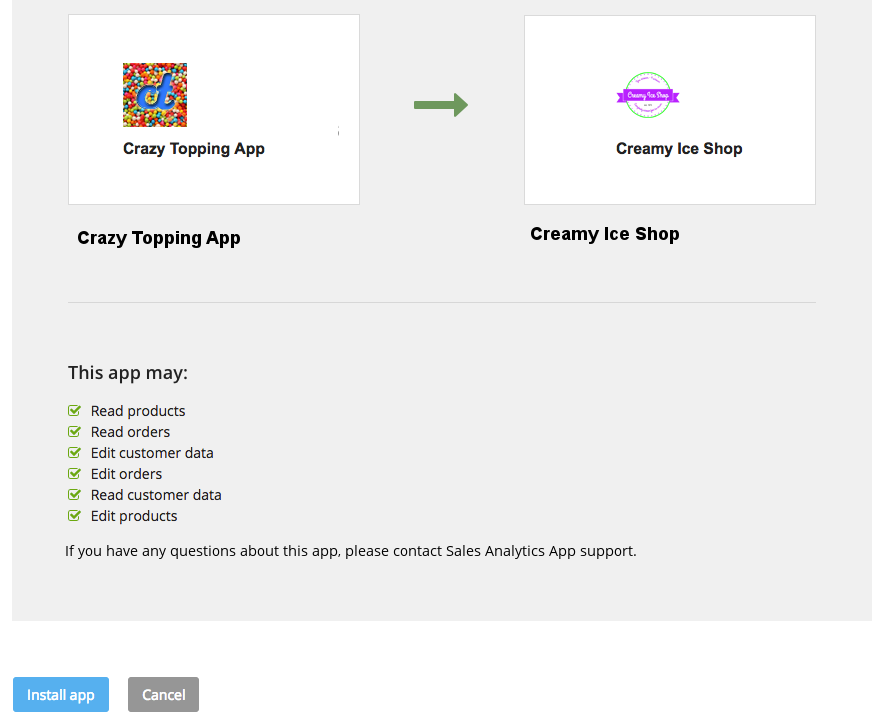
The merchant decided to install your app. Great! They will then be asked, whether they want to grant your app the permissions that it is requesting. While submitting the app, you have to define a scope, which outlines the permissions and access needed by your app. ePages displays the user consent form to the merchant as follows:
2. Confirm the installation
The merchant agrees and submits the consent form by clicking the button Install on the consent page. The merchant will be redirected to the app’s Application Callback URL.
3. Receive authorisation code
ePages makes a GET request to the Application Callback URL provided by the app developer.
The required query parameters, see table below, will be automatically passed by ePages.
SSL required! All API access is over HTTPS.
Example:
GET /callback?code={code}&signature={signature}&return_url={return_url}&api_url={api_url}&access_token_url={access_token_url} HTTP/1.1
Host: crazytoppingapp.com
Substitutions would be made as given in this example table:
| Query parameter | Description | Example |
|---|---|---|
{code} |
Authorisation code that is required for the app installation process to obtain the access_token. |
f32ddSbuff2IGAYvtiwYQiyHyuLJWbey |
{api_url} |
The base API URL, that uniquely identifies the merchant. The api_url differs for every merchant and has to be stored in the app. |
https://creamyiceshop.com/rs/shops/CreamyIceShop |
{return_url} |
The URL which the merchant should be redirected to after the app installation. | https://creamyiceshop.com/epages/CreamyIceShop.admin/?ObjectID=17811&ViewAction=MBO-ViewAppDetails&appID=54f46f318732110bd85f41c7 |
{access_token_url} |
The URL to obtain the access_token. |
https://creamyiceshop.com/rs/shops/CreamyIceShop/token. |
{signature} |
The signature is a message authentification code. It is calculated with the code, access_token_url and client_secret. |
jEPRUggebJDBsEnl1%2FpHlMUBxPbsELQihEVzbx2pFlM%3D |
Your app can use the code in combination with your Client ID and Client Secret for obtaining an access_token.
This code is temporary and will be obsolete after app installation.
Although it is optional to validate the signature query parameter, we highly recommend to do so, in order to verify that your request was not changed, and for sure has been provided by ePages and no external, insecure party.
In order to understand how to verify the signature, see the following Java code example:
import javax.crypto.Mac;
import javax.crypto.spec.SecretKeySpec;
import org.apache.commons.codec.CharEncoding;

public String calculateSignature(String code, String access_token_url, String client_secret) {
    String HmacSHA256 = "HmacSHA256";

    final Mac mac = Mac.getInstance(HmacSHA256);
    mac.init(new SecretKeySpec(client_secret.getBytes(CharEncoding.UTF_8), HmacSHA256));

    byte[] signature = mac.doFinal((code + ":" + access_token_url).getBytes());
    return Base64.getEncoder().encodeToString(signature);
}
4. Registration (optional)
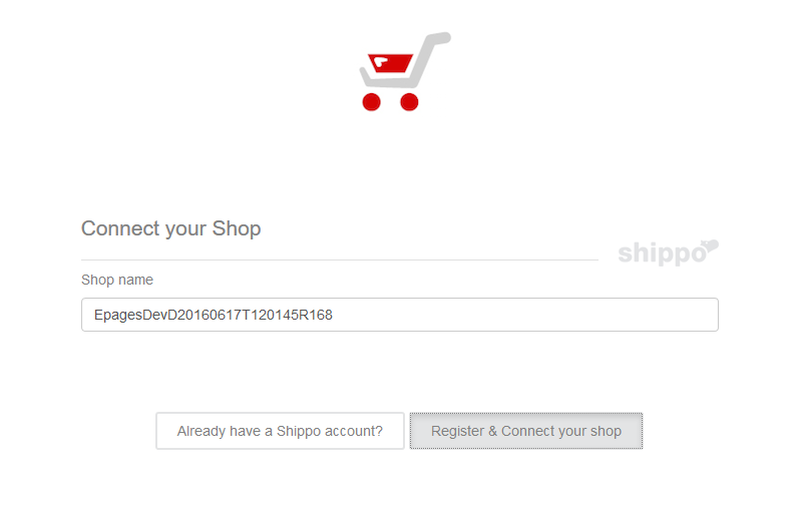
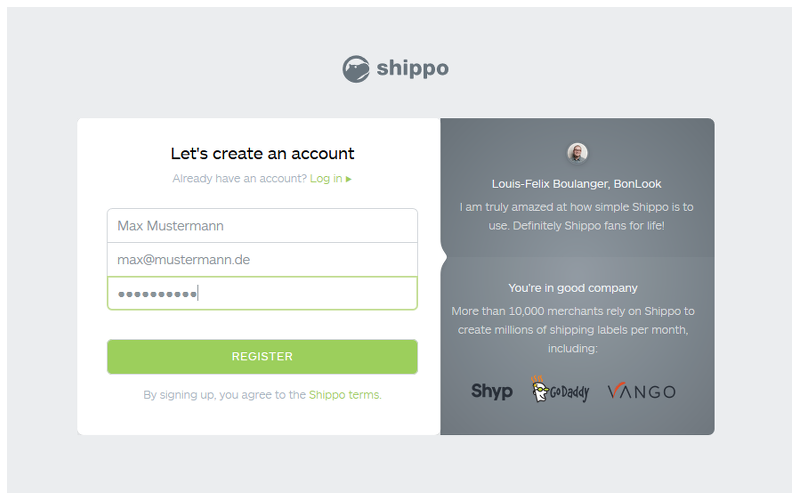
If your app requires a registration process, this optional step can be included before obtaining the access_token.
During this, the app would display the registration or login form to the merchant.
5. Exchange authorisation code for access token
To get an access_token, make a POST request to the token endpoint provided by the access_token query parameter on the Application Callback URL with the following parameters:
| Field | Description |
|---|---|
code |
The code provided in the Application Callback URL (see above). |
client_id |
The client key for the app (see the get your credentials section). |
client_secret |
The shared client secret for the app (see the get your credentials section). |
Mind the Content-Type! The POST request has to be x-www-form-urlencoded!
Example:
POST /rs/shops/CreamyIceShop/token HTTP/1.1
Host: creamyiceshop.com
Content-Type: application/x-www-form-urlencoded

code=f32ddSbuff2IGAYvtiwYQiyHyuLJWbey&client_id=E43D610F-7E6C-46D0-99E3-5D301E4AFE0D&client_secret=dJAQ4vEFGsPHAgoU8QTb1evJeGSQxDsU
In a successful response, a JSON object is returned with an access_token that can be sent to the ePages API, similar to the following:
HTTP/1.1 200 OK
Content-Type: application/json
X-epages-Media-Type: application/vnd.epages.v1+json
{
"access_token": "4HZ9hriF6J3GOnd10JbFzdVehycOvAZf"
}This is a permanent access_token that can be used to access the shop’s data as long as the app is installed in the merchant’s shop. This access_token allows your application to act on behalf of the merchant on this specific shop.
Top secret! With this access_token you make authenticated requests to the shop’s data. Store the access_token securely against the api_url.
Do not share the access_token with anyone!
The following table is an example on how to manage the data of different merchants.
api_url |
Shop | access_token |
|---|---|---|
| https://creamyiceshop.com/rs/shops/CreamyIceShop | CreamyIceShop | dff6d20e |
| https://quarkyaustrian.com/rs/shops/QuarkyAustrian | QuarkyAustrian | 136fe60f |
| https://tastyflummery.com/rs/shops/TastyFlummery | TastyFlummery | 93d621cc |
Note: Unlike the api_url, the derived Shop does not uniquely identify a merchant.
6. Redirect the merchant
Once the authorisation process is complete, your app has to send the merchant back to the return_url the app received before.
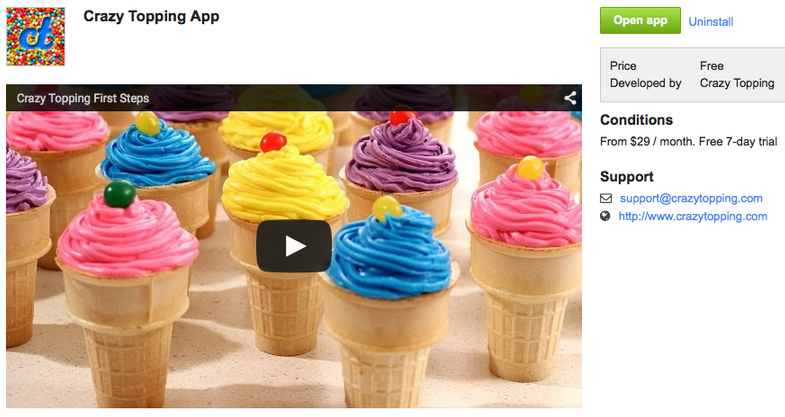
In case of a successful app installation, the merchant will be able to open the app in the App Store. If an error occurred during installation, the Install button instead of the Open app button will be shown.
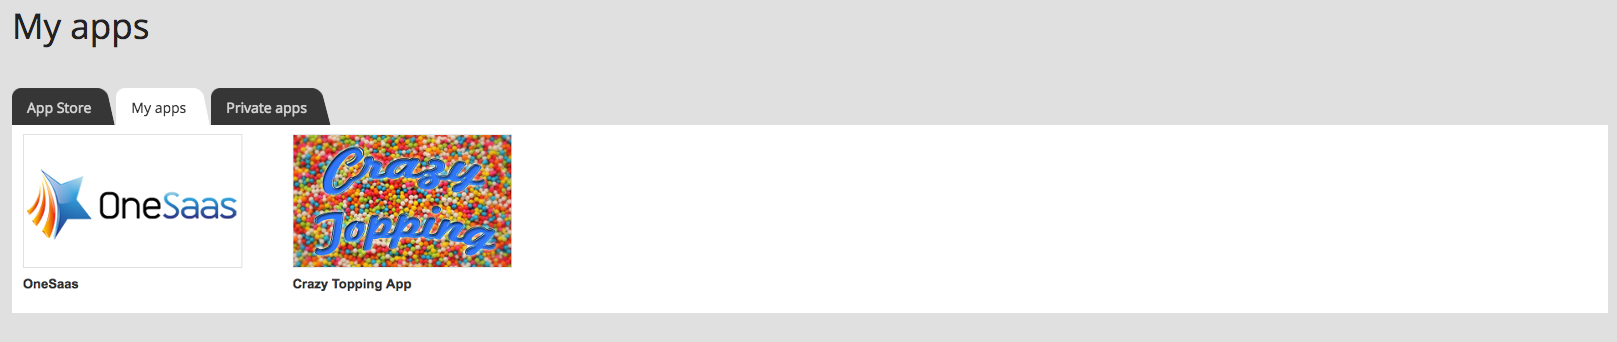
The app will also appear in the administration area in the section My apps.
Make an authenticated request to the API
Now that your application has received an access_token, it can make authenticated requests to the ePages API.
Example:
GET /rs/shops/CreamyIceShop/products HTTP/1.1
Host: creamyiceshop.com
Accept: application/vnd.epages.v1+json
Authorization: Bearer 4HZ9hriF6J3GOnd10JbFzdVehycOvAZf
Fancy more information?
All API calls are authenticated according to the OAuth 2.0 protocol. Read here for further details: OAuth 2.0 protocol.